

Building a File Upload API in Laravel
File upload functionality is essential for many web applications that require users to submit various media files. In this article, we’ll guide you through creating a robust file upload API in Laravel. You’ll discover how to configure your project, process incoming files, and store them safely, providing a reliable solution for managing user uploads.
Prerequisites
- Composer
- PHP 8.2
Setup project
composer create-project laravel/laravel laravel_api 11.0.3
php artisan storage:link
php artisan storage:link will create a symbolic link, allowing uploaded files to be accessible via a URL.
Project structure
├─ app
│  └─ Http
│     └─ Controllers
│        └─ UploadController.php
├─ bootstrap
│  └─ app.php
├─ resources
│  └─ views
│     └─ index.php
└─ routes
   ├─ api.php
   └─ web.php
This project structure will display only the files and folders that we plan to create or modify.
Project files
app.php
This file is the Laravel application configuration file, and we've added the API routing configuration to it.
<?php

use Illuminate\Foundation\Application;
use Illuminate\Foundation\Configuration\Exceptions;
use Illuminate\Foundation\Configuration\Middleware;

return Application::configure(basePath: dirname(__DIR__))
    ->withRouting(
        api: __DIR__.'/../routes/api.php',
        web: __DIR__.'/../routes/web.php',
        commands: __DIR__.'/../routes/console.php',
        health: '/up',
    )
    ->withMiddleware(function (Middleware $middleware) {
        //
    })
    ->withExceptions(function (Exceptions $exceptions) {
        //
    })->create();
web.php
This file defines the route URL for the Laravel web application. We just changed the default file from welcome.php to index.php.
<?php

Route::get('/', function () {
    return view('index');
});
api.php
This file defines the route URL for the Laravel API. We define our API route here.
<?php

use App\Http\Controllers\UploadController;

Route::post('/submit', [ UploadController::class, 'submit' ]);
UploadController.php
This file is used to handle file uploads, managing the process of receiving, storing, and returning information about the uploaded files.
<?php

namespace App\Http\Controllers;

use Illuminate\Support\Facades\Storage;

class UploadController {

    public function submit()
    {
        $file = request()->file('image');
        $filename = $file->getClientOriginalName();
        $filePath = 'uploads/' . $file->getClientOriginalName();
        Storage::disk('public')->put($filePath, file_get_contents($file));
        return [ 'name' => request()->input('name'), 'image' => $filename ];
    }
}
The controller manages file uploads through its submit() method. It retrieves the uploaded image file from the request, obtains its original filename, and constructs a path for storage. The file is then saved to the public disk using Laravel's Storage facade. Finally, the method returns a response with the submitted name and the filename of the uploaded image.
index.html
This HTML form is designed for users to upload a product name along with an associated image file.
<!DOCTYPE html>
<head>
    <meta charset="utf-8">
    <meta name="viewport" content="width=device-width,initial-scale=1">
    <link href="https://cdnjs.cloudflare.com/ajax/libs/bootstrap/5.3.3/css/bootstrap.min.css" rel="stylesheet">
    <script>
        function submitForm() {
            let form = document.getElementById('form')
            let data = new FormData(form)
            fetch('api/submit', {
                method: 'POST',
                body: data
            }).then(res => {
                res.json().then(result => {
                    let alert = document.getElementById('alert')
                    alert.children[0].innerText = `Upload success!\nName: ${result.name}\nImage: ${result.image}`
                    alert.children[1].src = `/storage/uploads/${result.image}`
                    alert.classList.remove('d-none')
                    form.reset()
                })
            })
            return false
        }
    </script>
</head>
<body>
    <div class="container">
        <div class="row mt-3">
            <form id="form" onsubmit="return submitForm()">
                <div class="mb-3 col-12">
                    <label class="form-label" for="name">Name</label>
                    <input id="name" name="name" class="form-control form-control-sm" required />
                </div>
                <div class="mb-3 col-12">
                    <label class="form-label" for="image">Image</label>
                    <input type="file" accept="image/*" id="image" name="image" class="form-control form-control-sm" required />
                </div>
                </div>
                <div class="col-12">
                    <button class="btn btn-sm btn-primary">Submit</button>
                </div>
            </form>
            <div id="alert" class="alert alert-success mt-3 d-none">
                <p></p>
                <img id="img" width="200px" />
            </div>
        </div>
    </div>
</body>
</html>
The form is configured to be submitted using the submitForm() JavaScript function, which is called upon form submission. Additionally, there is a hidden alert section that shows the uploaded image and a success message once the submission is successful.
Run project
php artisan serveOpen the web browser and goto http://localhost:8000
You will find this test page.

Testing
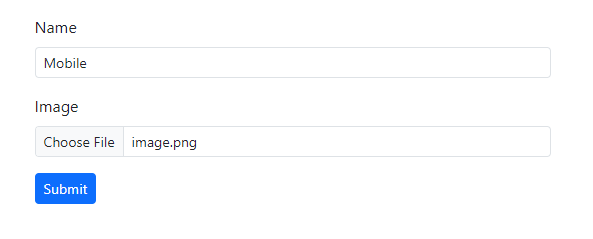
Enter the name in the input field and browse for a file to upload.
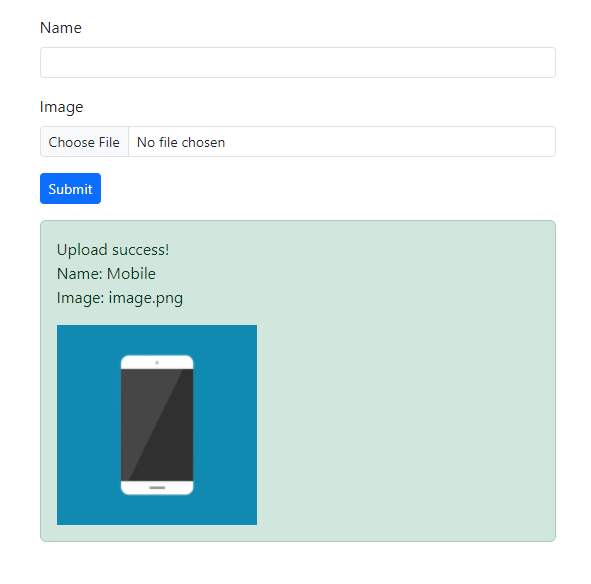
Click the submit button to send the form. You will then see a success message along with the submitted information returned from our API.
Conclusion
Laravel simplifies handling file uploads in web applications. With a simple controller and form configuration, you can efficiently manage file uploads and enhance your application's user experience in your Laravel projects.
Source code: https://github.com/stackpuz/Example-File-Upload-Laravel-11
Create a CRUD Web App in Minutes: https://stackpuz.com